HOW IT WORKS HOW TO CREATE ONE? MORE QUESTIONS B-ROBOT FORUM
How does it work?
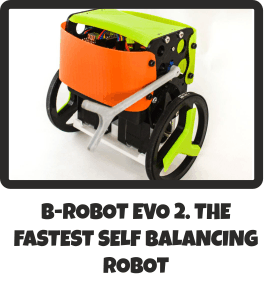
B-ROBOT is a remotely controlled self balancing arduino robot created with 3D printed parts. With only two wheels, B-ROBOT is able to maintain its balance all the time by using his internal sensors and driving the motors. You can control your Robot, making him move or spin, by sending commands via a Smartphone, Tablet or PC while it maintains its balance.
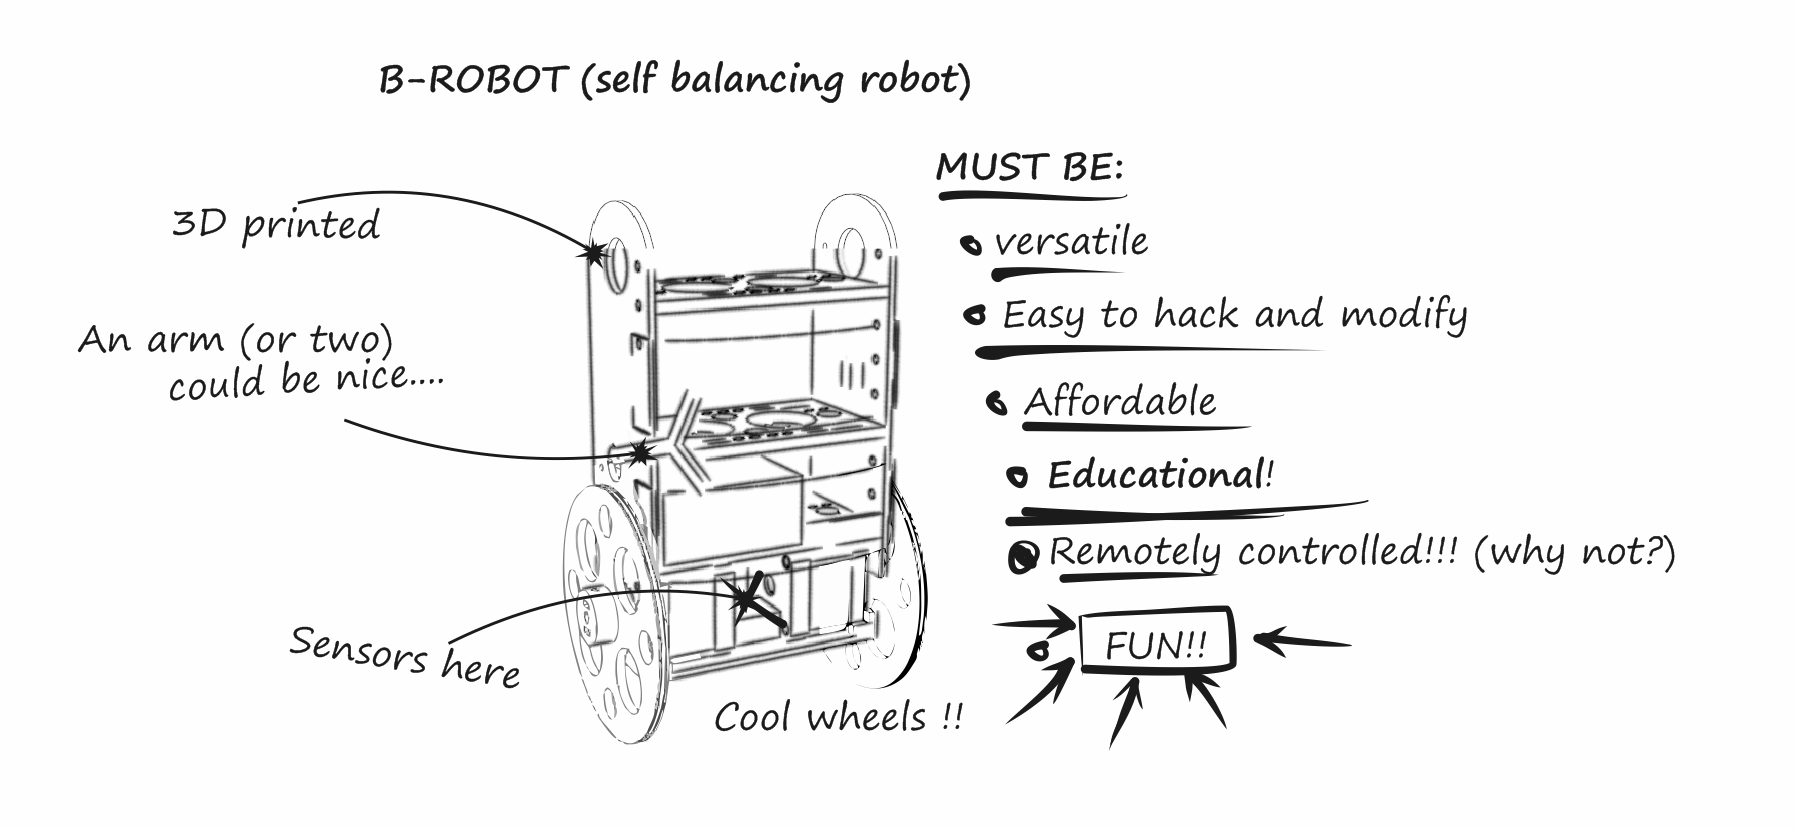
Above: the B-Robot “brainstorming” creation ideas
This self balancing robot reads his inertial sensors (accelerometers and gyroscopes integrated on the MPU6000 chip) 200 times per second. He calculates his attitude (angle with respect to the horizon) and compares this angle with the target angle (0º if he wants to maintain balance without moving, or a positive or negative angle if he wants to move forward or backwards). Using the difference between the target angle (let’s say 0º) and actual angle (let’s say 3º) he drives a Control System to send the right commands to the motors to maintain his balance. The commands to the motors are accelerations. For example if the robot is tilted forward (angle of robot is 3º) then he sends a command to the motors to accelerate forward until this angle is reduced to zero to preserve the balance.
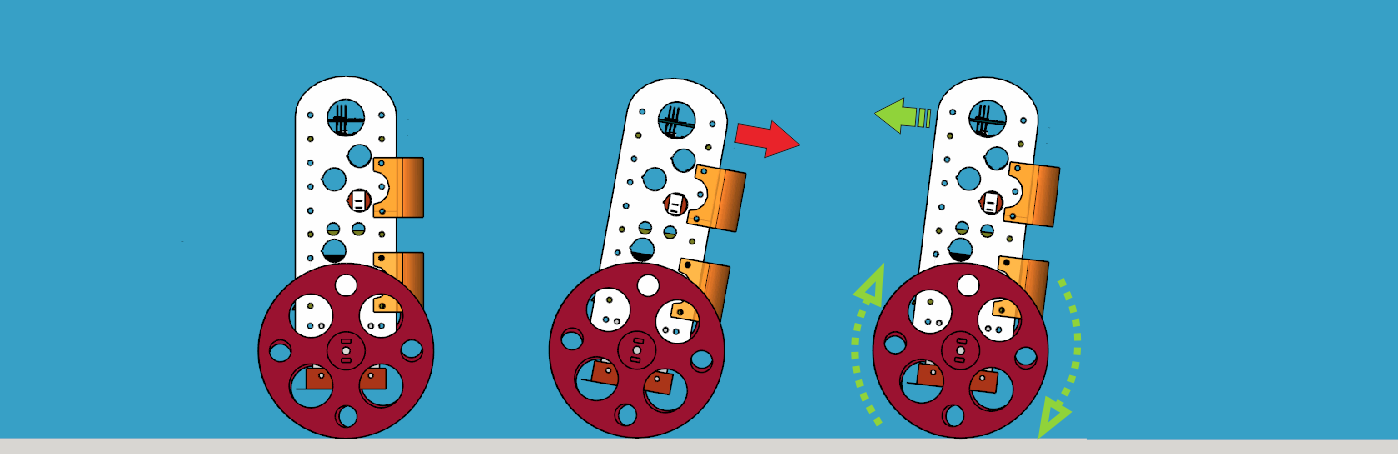
Stable position leaning forward Correcting its tilt using motors
A bit more in depth…
The physical problem that B-ROBOT solves is called the Inverted Pendulum. This is the same mechanism you need to balance an umbrella above your hand. The pivot point is under the center of mass of the object. More information on Inverted Pendulum here. The mathematical solution to the problem is not easy but we don’t need to understand it in order to solve our robot´s balance issue. What we need to know is how should do to restore the robot´s balance so we can implement a Control Algorithm to resolve the problem.
A Control System is very useful in Robotics (an Industrial automation). Basically it´s a code that receives information from sensors and target commands as inputs and creates, in consequence, output signals to drive the Robot actuators (the motors in our example) in order to regulate the system. We are using a PID controller (Proportional + Derivative + Integral). This type of control has 3 constants to adjust kP,kD,kI.
From Wikipedia: “A PID controller calculates an ‘error’ value as the difference between a measured [Input] and a desired setpoint. The controller attempts to minimize the error by adjusting [an Output].”
So, you tell the PID what to measure (the “Input”) ,where you want that measurement to be (the “Setpoint”,) and the variable you wish to adjust to make that happen (the “Output”.) The PID then adjusts the output trying to make the input equal the setpoint.
For reference, a water tank we want to fill up to a level, the Input, Setpoint, and Output would be the level according to the water level sensor, the desired water level and the water pumped into the tank.
kP is the Proportional part and is the main part of the control, this part is proportional to the error. kD is the Derivative part and is applied to the derivative of the error. This part depends on the dynamics of the system (depends on the robot,´s weight motors, inertias…). The last one, kI is applied to the integral of the error and is used to reduce steady errors, it is like a trim on the final output (think in the trim buttons on an RC car steering wheel to make the car go totally straight, kI removes the offset between the target required and the actual value).
More information on PID controller here.
On B-ROBOT the steering command from the user is added to the motors output (one motor with a positive sign and the other with a negative sign). For example if the user sends the steering command 6 to turn to the right (from -10 to 10) we need to add 6 to the left motor value and subtract 6 from the right motor. If the robot is not moving forward or backwards, the result of the steering command is a spin of the robot.
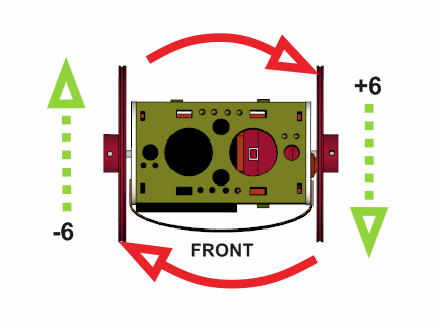
Above: Top view of the B-ROBOT and the commands to the motors
What about the user control?
NEW: (Android devices) control your B-robot using the JJrobots FREE APP!

We have developed an APP for Android users that simplifies the control of the B-robot EVO.
NEW: adjust the stability and behaviour of the B-robot in real time from the PID control APP (free)
More info in the assembly guide page
NEW: (iOS devices)
B-robot control APP (thanks to Xuyen for this great contribution!)
We wanted B-ROBOT to be controlled by the user from almost any existing device, but we don´t want 😉 to develop a lot of different interfaces for different systems (Android, IOS, PC-windows…). Moreover, we decided to use existing (and powerful) protocols to control “things” and we found (some years ago) a protocol called OSC (Open Sound Control, more info here) used to control musical instruments like synthesizers. Very visual and powerful (we can display volume control, equalizers, lights…and create our own). To remotely control B-robot, we use OSC protocol over an Internet connection (Wifi module) using UDP packets. This is a lightweight and efficient way to send commands to our Robots!. We could also personalize the Interface we are using in our device so we will be able to control anything! (well…almost) What we need to do is to implement a lightweight library for Arduino in order to support this protocol (easy). We only use a subset of the OSC protocol to keep things small.

More about the Control System…
But things are a bit more complex… We have really two PID controllers in a cascade configuration (the output of one controller connected to the next one). The output controller is a speed controller and the inner controller is the stability controller.
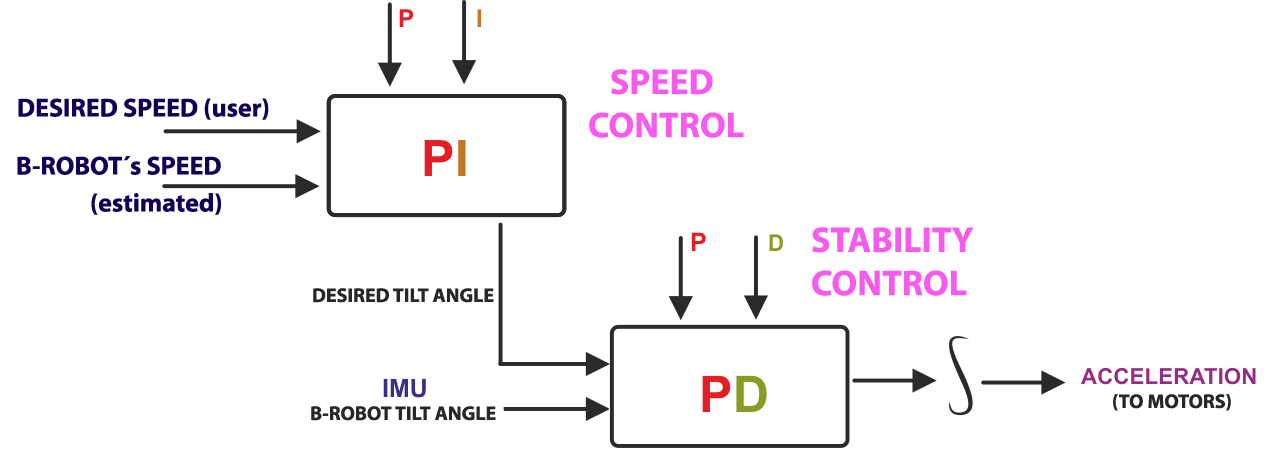
ABOVE: B-ROBOT control algorithm loop
We could use only one stability controller (the second one) but this would mean that the control´s output would be the desired robot tilt angle, so the user would control the robot angle directly. The problem is that if the center of gravity is not perfectly located above the wheels axis , so the robot needs a little tilt angle to keep the balance and if the user sends a command of tilt=0 then the robot will maintain its balance whilst moving… When adding the second controller (speed controller) the system compensates automatically for this. The user sends a command to the robot speed=0 and this controller will send the “correct” tilt angle to the second controller (stability controller) to mantain the robot balanced and not moving! For the users it is much simpler to set the desired robot speed and the system will find the right robot angle to achieve this speed.
Now… How to create a self balancing robot like B-robot
To create a B-ROBOT, you will need:
- B-ROBOT electronic brain shield
- B-Robot 3D printed plastic parts (include bolts+nuts+ON/OFF switch) or print them by yourself (DOWNLOAD B-robot EVO STL 3D parts)
- Arduino LEONARDO
- 2x Stepper motor DRIVER (A4988)
- IMU (gyro+accelerometer)
- 2x NEMA 17 stepper motors (40mm length, example:42BYGHW609)
- 8xAA battery holder (for NiMh or alkaline batteries)
- OPTIONAL: Mini servos (21g) to move the arm (arms)
- Programming the Leonardo with the latest code (ESP12-E version)
- Have a look to the FORUM, there you will find modifications of the robots (sonar sensors, different cases, sizes…)
You can get the FULL B-robot KIT from here
Remember, you can purchase the B-robot EVO Kit at the shop:
B-Robot EVO KIT (Plug and Play Robot version)
JJrobots´s B-ROBOT EVO 2 Kit. Created to simplify the set up and integration of all the different devices involved in this project.

This COMPLETE VERSION includes all the electronic and hardware components required to create the B-Robot. You just need to assemble everything (optional 3D parts)
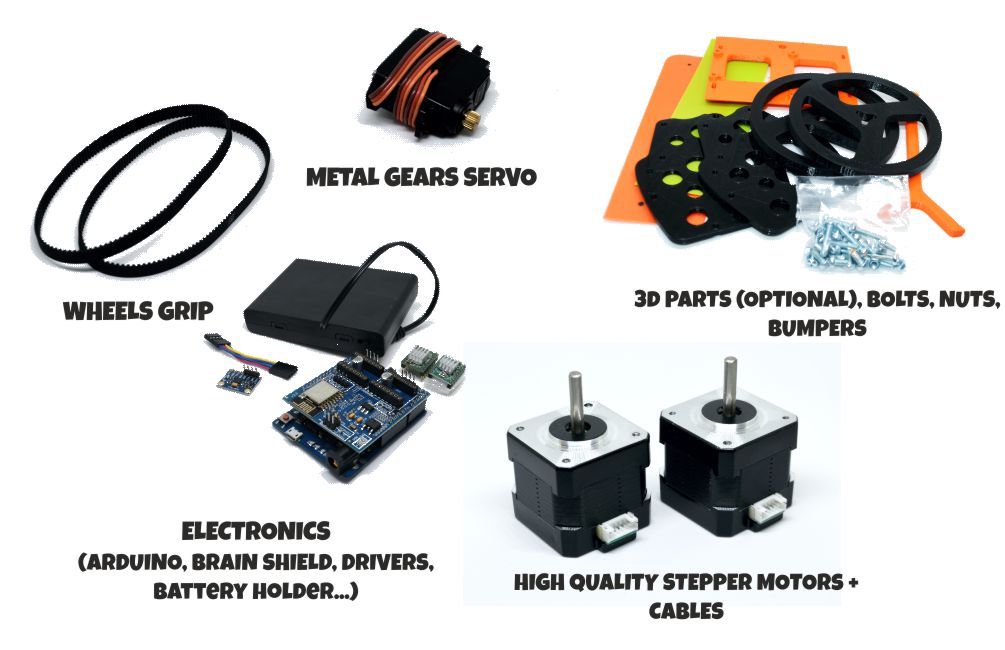
What you get when you buy this KIT:
- jjRobots Brain Shield
- Arduino Leonardo (CLONE) + USB cable (already programmed)
- 2x High Quality NEMA17 stepper motors +14 cms cables (pair)
- 2x Stepper motor driver
- IMU (gyro+accelerometers) + custom cable
- Optional: 3D printed parts (vibrant colours)
- Powerful servo: Metal gears (you will need an arm to fight and raise your B-robot…)
- 6x AA Battery case with ON/OFF Switch (batteries not included)
- Bolts+nuts needed to set everything up
- Pair of nylon bumpers
- Double side tape, googly eyes…
- NEW: control your B-robot using the JJrobots FREE APP! (Android devices) or the Roverbot APP (for iOS phones. not official)
CUSTOMISE YOUR ROBOT:
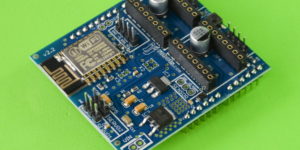
jjRobots electronic brain shield v3.0 (Devia)
JJrobots´s Brain SHIELD. Created to simplify the set up and integration of all the different devices involved in the jjrobots projects.
This SHIELD has:
- TWO stepper motor OUTPUTs
- TWO SERVO OUTPUTs
- I2C communications
- Push button (customisable)
- SENSOR port (SONAR, IR…)
- ESP12-E (ESP8266) WIFI module (you can communicate to this SHIELD from any smartphone/tablet/PC using it)
Some OPEN robots you can create with this Brain Shield:
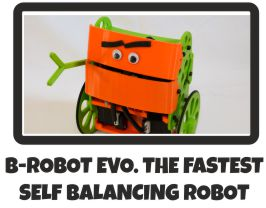
- B-ROBOT EVO is a remotely controlled self-balancing arduino robot created with 3D printed parts. With only two wheels, B-ROBOT is able to maintain his balance all the time by using his internal sensors and driving the motors. You can control your Robot, making him moving or spinning, by sending command through a Smartphone, Tablet or PC while he keeps the balance.
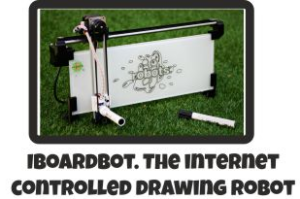
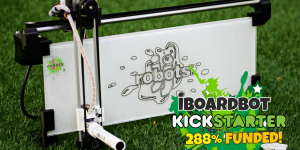
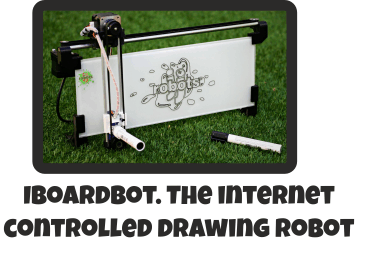
- The iBoardbot is an internet controlled robot capable of writing+drawing (and wiping!) on a glass surface.
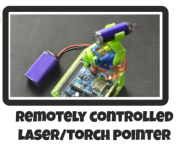
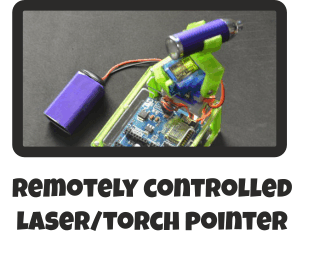
- Remotely controlled Torch/ Laser robot: Laser pointer is a remotely controlled Arduino robot created with 3D printed parts. With only two servos, this robot is able to point any object in the X and Y axis.
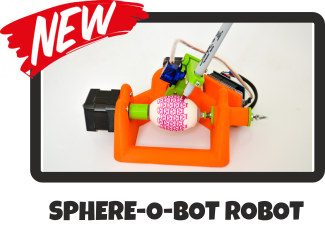
- Sphere-O-Bot: The Sphere-O-bot is a friendly art robot that can draw on spherical or egg-shaped objects from the size of a ping pong ball to a large duck egg (4-9 cm).

- Many more to come!
NOTE: There are FULL ROBOT KITS ready to be sent to you in the SHOP (scroll down to the very end of this page to see them too)
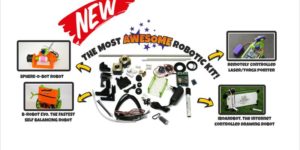
The most AWESOME robotics KIT
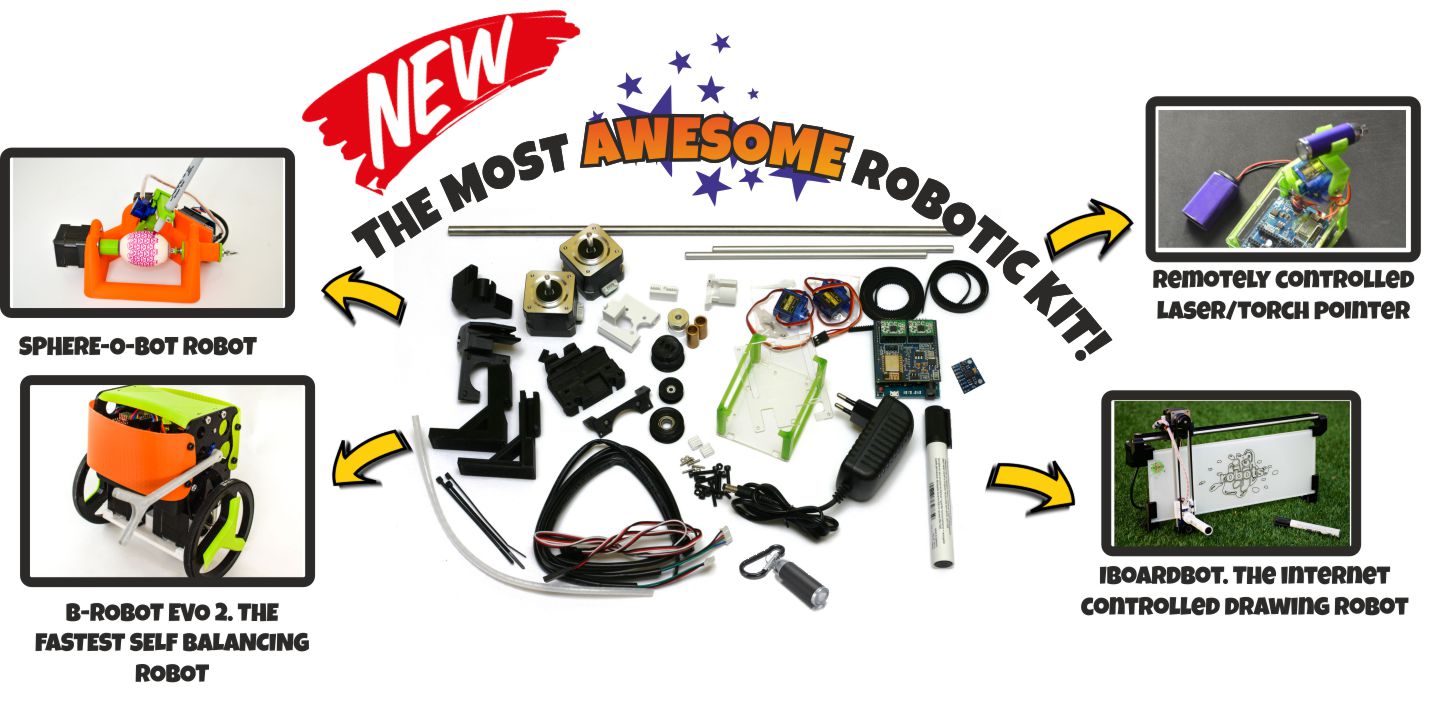
The robotic KIT you were looking for (and you didn´t know). Create very different OPEN SOURCE robots using the same electronics and ancillary elements. Everything can be modified, Hacked and customised!
Fight battles with your remotely controlled B-robot, play with your torch from 50 meters away, send messages to your friend using the Iboardbot!, paint balls/eggs using your own pens or…create your new awesome robot from scratch!
Do you think you can improve or hack any of these robots? Do it! They are OPEN SOURCE robots, so all the info,know how and code is available for everyone. Share the knowledge! (and take a look to the JJrobots FORUM)
The robots you can create from this KIT:
CUSTOMISE YOU AWESOME ROBOTICS KIT
B-ROBOT EVO KIT: Assembly + setting up instructions
More questions:
Why are you using Stepper motors?
There are several options for motors: DC, Brushless, Steppers… We choose stepper motors because they have enough torque, you could connect the wheels directly without gears that generate some backslash (this is a common problem in balancing robots), they have good bearings and you will be able to control the speed of the motors with accuracy. In standard sizes these motors are cheap (we use the same motors used on a regular 3D printers) and the drivers are cheap and easy to interface with Arduino too.
Why you use a Wifi connection?
Using a Wifi connection allow us to work with a lot of devices (Smartphones, Tablets, PCs…) Bluetooth devices are cheaper but their range is usually shorter. Old devices are not supported and you could not connect it to Internet easily. The Wifi module that we recommend, allow us to create an Access Point, so you don’t need to use an existing Wifi infrastructure (cheap Wifi modules don´t let you do this). You can connect your device directly to the Robot anywhere but if you prefer you can hack it and use your own infrastructure therefore controlling your robot (or whatever you have created) over the Internet from any remote place in the world! (Cool, isn´t it?)
If you want to know more, we recommend you have a look at the B-ROBOT´s code (or to the jjrobots forum).
 JJROBOTS Science&fun 2015